Learning Resources > Tutorials > Getting Started with Maya > nParticles > Lesson 3: Creating a liquid simulation
with nParticles >
Convert nParticles to a
polygon mesh
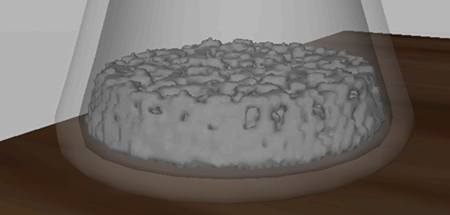
To create a smooth surface for your liquid simulation, you can convert the nParticles to a polygon mesh. Converting nParticles to a mesh has many advantages, because you can edit it like any other polygon object.
For example, you can improve the quality and overall look of your liquid simulation by performing polygon smooth operations on the output mesh. Polygon smoothing increases the number of polygons in your mesh and gives it a smoother appearance. For your liquid simulation, this helps create a smooth, continuous surface, like the surface of water. See nParticle output meshes.
Before converting the nParticles to an output mesh, you can set the initial state of your simulation to an advanced frame. Doing this ensures that the nParticles have settled down to the bottom of the pitcher before its animation starts. From frames 1 to 30, Nucleus gravity and the initial collisions between the nParticles and the inside wall of the pitcher cause the particles to move. For a realistic effect, you want the water to be motionless at the bottom of the pitcher at the start of the simulation.
To set the initial state of the nParticles
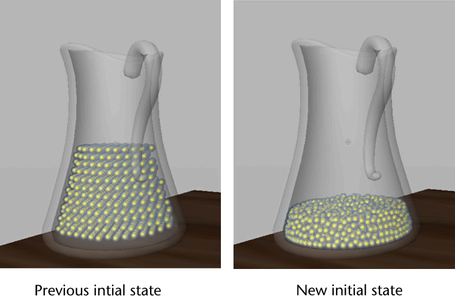
If you are not satisfied with how the particles behave in the new initial state, for example they may be still moving in the pitcher, play the simulation for 20 to 30 frames and set the initial state again. Continue setting the initial state until you are satisfied with the results.
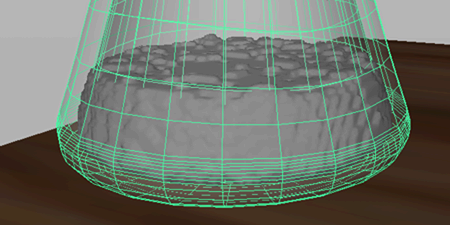
To convert your nParticle object to a polygon mesh
After your nParticle object is converted to a polygon object, Maya no longer displays the particles in the scene view. This reduces simulation time and makes it easier to see how your Output Mesh attribute adjustments affect the mesh.
The PolySurface1 object appears in the Outliner, and a new polySurfaceShape node appears in the Attribute Editor.
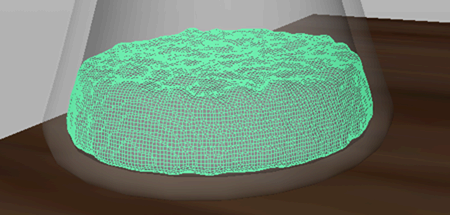
Selecting Quad Mesh creates your converted mesh using quad-based polygons, while Tetrahedra, Triangle Mesh, and Acute Tetrahedra create meshes using triangulated polygons. Output meshes that are quad-based respond better to polygon smoothing (Mesh > Smooth) than triangle-based output meshes.
At this value, the nParticle output mesh extends beyond the nParticle object’s collision width and penetrates the inner wall of the pitcher mesh.
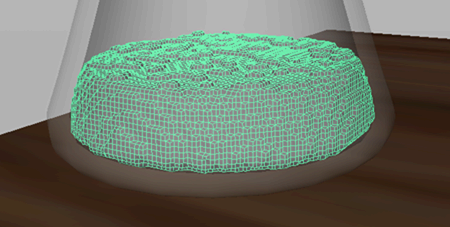
At this value, holes appear in the Particle output mesh because some nParticles are no longer overlapping.
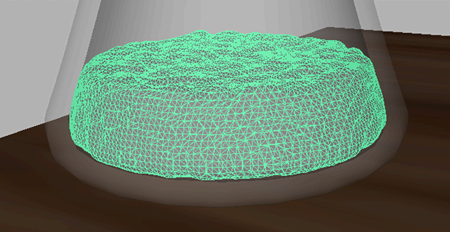
This setting determines the size of the triangles that are used to create the mesh. Small values produce higher resolution meshes with smoother surfaces. Be aware that higher resolution meshes take more time to simulate.