


Learning Resources > Tutorials > Getting Started with Maya > Scripting in Maya > Lesson 2: Saving scripts
to the Shelf >
Saving the history as a
button
You can save Script Editor history as a Shelf button.
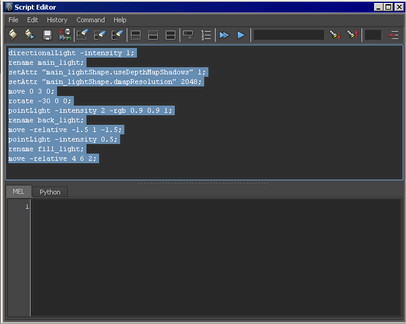
directionalLight -intensity 1; rename main_light; setAttr "main_lightShape.useDepthMapShadows" 1; setAttr "main_lightShape.dmapResolution" 1024; move 0 3 0; rotate -30 0 0; pointLight -intensity 2 -rgb .9 .9 1; rename back_light; move -r -1.5 1 -1.5; pointLight -intensity .5; rename fill_light; move -r 4 6 2;
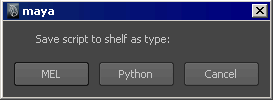
A pop-up window asks you which type of shelf button you are saving.
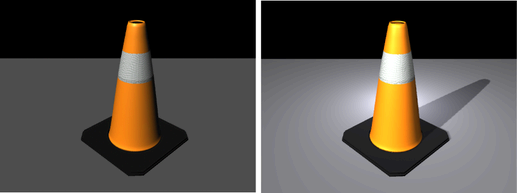
A Shelf button is created that executes the scripting commands you dragged to the shelf setting up three-point lighting for a scene.

This file can be found in the GettingStarted directory that you set as your Maya project:
 icon
when you are dragging a Shelf button.
icon
when you are dragging a Shelf button.