


Learning Resources > Tutorials > Getting Started with Maya > Rendering > Lesson 1: Rendering a scene >
Open the scene for the
lesson
In this lesson, you render a scene we’ve created for your use.
This file can be found in the GettingStarted directory that you set as your Maya project:
GettingStarted\Rendering\apple.mb
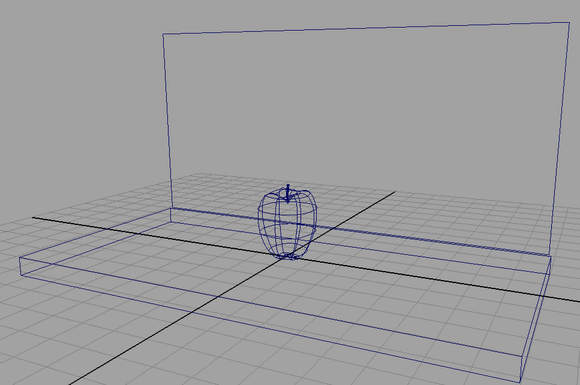
The scene contains an apple sitting on a plane, with another plane as the background. A camera in the scene is animated to revolve around the apple at varying distances. (As an alternative to using the scene apple.ma, you can create a similar scene with your own objects.)
You won’t use the animated camera until later in the lesson. In the next steps, you color the apple and the planes by creating shading materials.