Creating shading materials for objects


A shading material is a collection of attributes that you apply to a surface to control how the surface appears when it is rendered. Shading materials include such attributes as color, shininess, and texture. The following table outlines the materials you’ll be working with:

Material Description

Lambert

Creates a matte surface without specular highlights. Lambert is the default shading material.

Blinn

Creates a shiny surface with specular highlights, often used to simulate metallic surfaces.

When you open the apple.ma file, it initially displays the apple and the planes as wireframes (Shading > Wireframe). This is the default display mode for objects in a scene view.

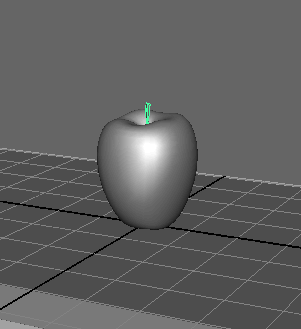
To create materials for the apple stem

  1. In the perspective view, select Shading > Smooth Shade All (hotkey: 5).

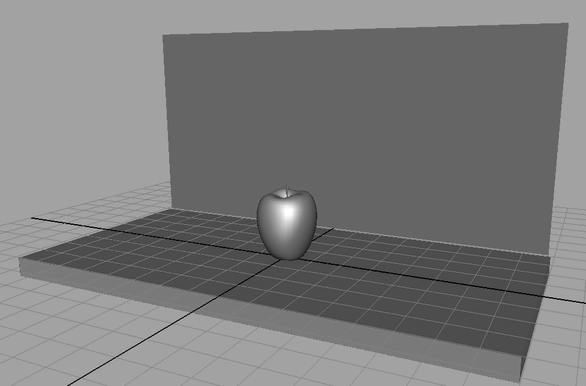
    The apple and the other surfaces appear with a default gray, smooth shading material, lit using default lighting. Default lighting occurs when no other lights have been placed in the scene.

  2. In the perspective view, select the apple stem by clicking its geometry. (Be sure that only the apple stem is selected.)

  3. From the Rendering menu set, select Lighting/shading > Assign New Material.

    The Assign New Material window appears.

  4. Click Lambert.

    The Attribute Editor appears for the Lambert material.

    A Lambert material creates a matte surface without shiny highlights. You will learn more about materials and their attributes in a later lesson.

  5. Click the gray box to the right of Color.

    The Color Chooser window appears.

  6. Click inside the color wheel and drag to a brown color.

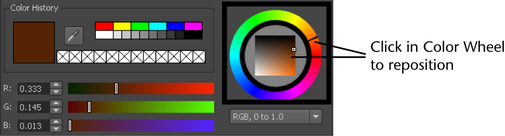
    The color you select in the Color Chooser is applied to the apple stem.

    Move your mouse off the Color Chooser to exit.

  7. In the Attribute Editor, rename the lambert shading material to appleStem_lambert.

To create materials for the apple

  1. Right-click the apple and select Assign New Material from the marking menu.

    The Assign New Material window appears.

  2. Select Blinn.

    The Attribute Editor updates to display the attributes for the Blinn material.

    A Blinn material gives the apple a shiny appearance.

  3. Click the gray box to the right of Color.

    The Color Chooser window appears.

  4. Click inside the color wheel and drag to a red color.

    The apple’s surface updates to the same color you select in the Color Chooser.

  5. In the Attribute Editor, rename the Blinn shading material to appleSkin_blinn.

To create materials for the counter and wall

  1. Right-click the background plane and select Assign New Material from the marking menu.

    The Assign New Material window appears.

  2. Select Lambert.

    The Attribute Editor displays the attributes for the Lambert material.

  3. Click the gray box to the right of Color.
  4. In the Color Chooser window, click inside the color wheel and drag to a light blue color.

    The color you select in the Color Chooser is applied to the plane.

  5. In the Attribute Editor, rename the Lambert shading material to wall_lambert.
  6. Right-click the surface that the apple is resting on and select Assign New Material > Lambert.

    The Attribute Editor displays the attributes for the Lambert material.

  7. Click the gray box to the right of Color.
  8. In the Color Chooser window, click inside the color wheel and drag to a beige color.

    The color you select in the Color Chooser is applied to the plane.

  9. In the Attribute Editor, rename the Lambert shading material to counter_lambert.

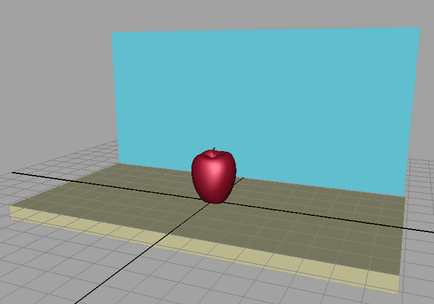
    The counter, wall, and apple stem all have a matte Lambert surface, while the apple has a shiny Blinn surface. There are many other attributes you can set to change the appearance of these objects, which you’ll explore in the next section.