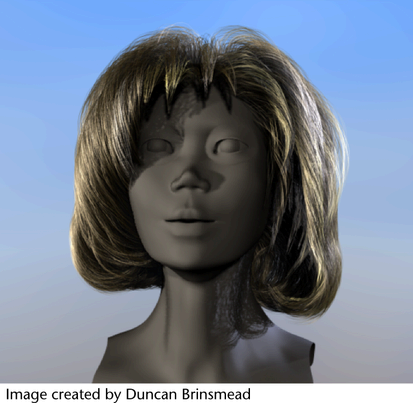
Self shadowing is particularly important for natural looking hair. Shadowing for long hair, if using Paint Effects hair, has the same issues as shadowing with regular Paint Effects. Depth map shadows must be used since raytraced shadows are not supported. Also you must turn off Use Mid Dist. The Bias generally needs to be adjusted when Use Mid Dist is off; increasing the Bias will allow more translucent penetration of the light into the hair, as well as avoid noisy grid self shadow artifacts on surfaces. Hair is very thin and you need to use fairly high resolution shadow maps. However, increasing the Filter Size can help smooth the shadows which helps simulate the diffusion of light scattering through the hair. It can also soften chatter and aliasing of the hair shadow. (For more information about light and shadow attributes, see Shadow attributes and Shadow in Maya in the Lighting guide.)
In terms of Bias you should generally start with a low value, then increase it until surfaces no longer have self shadow artifacts (dark fringes on the surface). You might then further increase this value to allow for more light penetration into the hair. In general the higher the Filter Size, the larger the Bias should be. For very soft translucent hair, you should use a relatively high filter size and large Bias. Sometimes you can get similar effects with lower filter sizes combined with lowering the depth map resolution, although the filter size should not go below 2.
In some cases you might need to turn off Use Auto Focus and set the Focus value manually, as Paint Effects elements are not considered in the auto focus region determination. For point lights, generally set the focus to 90 degrees. For spotlights, generally set the focus to the spotlight angle. For directional lights, the focus is not an angle, but a width from either the center of the shadowing objects or, if Use Light Position is on, then a distance from the light axis.
You also need to have some shadow casting geometry in the scene in addition to the hair, or no depth map will be created. (This is a limitation of Paint Effects.) The geometry must exist within the region in which the shadow map would be generated. (Paint Effects elements are currently ignored in the determination of whether or not to create a shadow map.)
For best results create ambient illumination on the hair using several dim shadowed lights of the environment color, rather than using an unshadowed ambient light. If desired, specular highlighting can also be turned off for these lights.
To set up self shadows on hair


