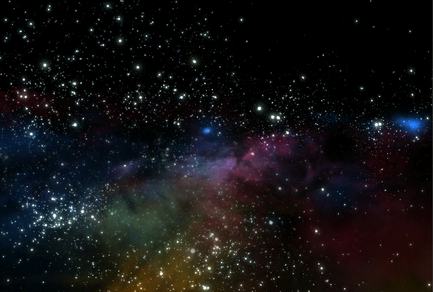
Using the star and space
brush presets you can quickly paint a starfield and animate flying
through it.
To animate a starfield
- Change your scene color to black (
Window > Settings/Preferences > Color Settings).
- Switch to the scene painting view (press
the 8 hotkey to open the Paint Effects Panel,
and select Paint > Paint Scene).
- Select Brush > Tool Settings and
turn on Paint At Depth.
- In the Visor (Brush
> Get Brush), or on a shelf, click the brush preset
you want to paint with (in the galactic folder).
- Drag to paint stars.
Paint
Effects paints the strokes on the view plane at the depth
determined when you clicked in the scene to start the stroke. If
you start your stroke near the front of the grid plane of the perspective
view, the stars will be very close. If you start your stroke near
the back of the grid plane of the perspective view, the stars will
be very far.
- Repeat steps #4 and #5 until your starfield
looks the way you want it to. Make sure you start your brush strokes
at different depths so that there are stars to “fly” through. Also,
change the brush occasionally to add a galaxy or space glow.
- Move to the first frame and click the Auto
keyframe toggle (the key icon at the bottom right of
the Maya main window).
- Switch to the scene view (Panels
> Perspective > persp) and select the camera (View
> Select Camera).
- In the channel box, select the Translate boxes,
right-click and select Key Selected.
- Move to the last frame in the animation
and dolly into the scene.
- In the scene view, click the Play
Forward button to check that effect is as you want it.
- Render the animation. See
Render a scene with Paint Effects strokes. Glow brushes
do not require lights to render.