


Learning Resources > Tutorials > Getting Started with Maya > Animation > Lesson 4: Nonlinear animation
with Trax >
Open the second scene for
the lesson
In this second half of this lesson, you work with a second scene file that contains motion capture data applied to a skeleton.
Motion capture data is produced by capturing the movement of a real human or animal and digitizing it so it can be applied to a 3D animation character. Motion capture data contains keyframe animation. Motion capture data is useful because it can capture the subtle nuances of motion and gesture that make a character’s actions appear life-like. Motion capture data can substantially reduce the work related to posing and keyframing your characters.
This file can be found in the GettingStarted directory that you set as your Maya project:
GettingStarted/Anim/Trax_Lesson2.mb.
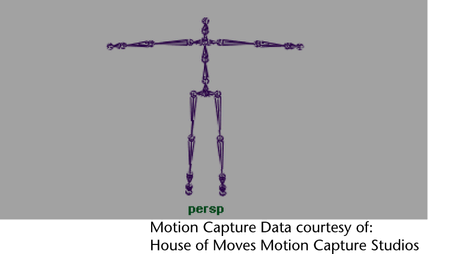
The skeleton appears in the Maya scene in the standard da Vinci pose. In this pose, the character stands straight with its arms extended out to either side. This pose is useful when you need to skin a character, retarget animation from one skeleton to another, or set a rest pose for the skeleton.
In this half of the lesson you learn how to use the Trax Editor to work with motion capture data by extending and redirecting the motion for a character.
Trax_Mocap.movIf your skeleton doesn’t appear as shown, you will need to increase the size of the skeleton’s joints.
To resize the joints on the skeleton
To preview the motion capture animation
The skeleton is repositioned and then walks from left to right, stops, and then sits.