


Learning Resources > Tutorials > Getting Started with Maya > Rendering > Lesson 3: Lights, shadows,
and cameras >
Spotlights
In the next steps, you light part of the desk by creating a spotlight and positioning it within the desk lamp. A spotlight emits light from a single point within a limited cone angle. You can aim a spot light in the direction you want the light to illuminate.
 .
.
This creates the spotlight’s icon at the center of the grid. The light points toward the back wall.
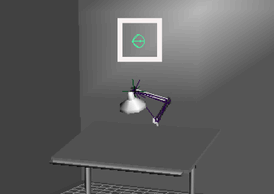
If you look at the spotlight icon from several angles, you’ll notice that it is shaped like a cone with an arrow pointing out of it.
The cone symbolizes that a spotlight emits a beam of light that gradually widens with distance.
With the spotlight selected, this tool provides two manipulators that you can move to position and aim the light precisely.
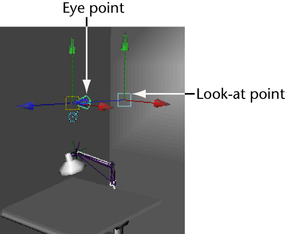
The look-at point specifies where the light focuses. The eye point defines the position of the light source. All types of lights have an eye point, but not necessarily a look-at point.
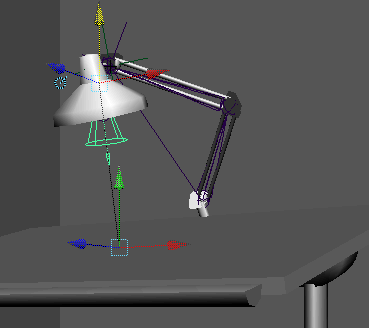
You can also use the Rotate tool to center the eye-point more accurately in the lamp housing.
An alternative way to position a spotlight is to select the light and then select Panels > Look Through Selected. You can then dolly and pan the view to focus on the desired surface. The area of focus is where the light strikes the surface. To return to the perspective view select Panels > Perspective > persp.
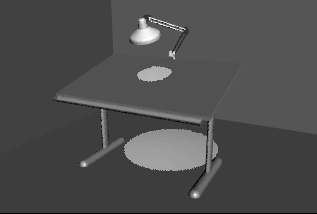
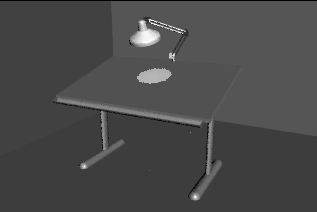
By default, light passes through and lights up each surface in its path. The circular region of light is wider on the floor than the desk because a spotlight emits a beam of light that widens with distance.
Only the floor, not the desk, will be lit by the spotlight in the scene view. You’ll see the desk lit up only if you render the scene.
By turning on Use Depth Map Shadows, the spotlight’s lighting is blocked by the first surface it hits (the desk). The floor is in the shadow of the desk so it receives no light. You’ll learn more about Depth Map Shadows later in the lesson.