


Learning Resources > Tutorials > Getting Started with Maya > Maya Basics > Lesson 4: Components and
attributes >
Surface materials
The color, shininess, and reflectivity attributes of an object are controlled by its surface material (sometimes referred to as a shader, or shading material). Material attributes relate to how the object simulates a natural reaction to light in Maya’s 3D computer world.
Maya assigns a default shading material to all objects when they are first created. In this section, you learn how to assign a new material to your objects.
To assign a new material to the temple objects
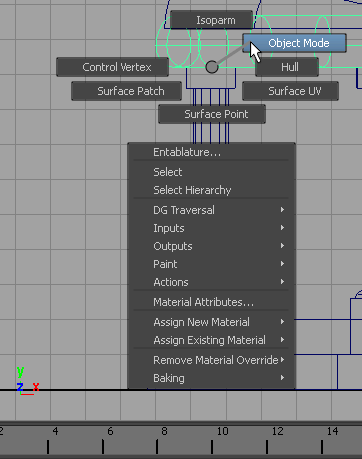
This changes the selection mask back to objects so you can select objects in the scene. It is a shortcut to access this feature.
The main menu changes to display the menu set for Rendering.
The Assign New Material window appears.
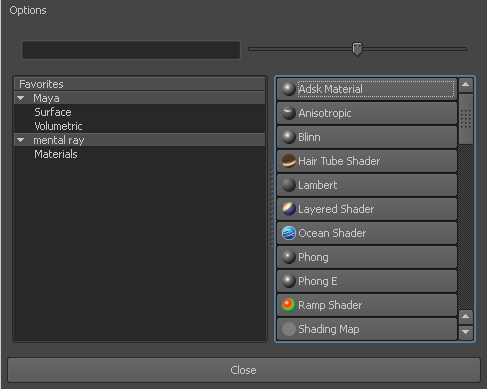
A Blinn shading material is assigned to all the objects in the scene and the Attribute Editor updates. Blinn shading materials (named after the inventor of this shading algorithm) provide for high-quality specular highlights on surfaces.
With a shading material assigned to all the objects, you need to edit the color attributes of the templeShader material.
To edit the shading material’s attributes
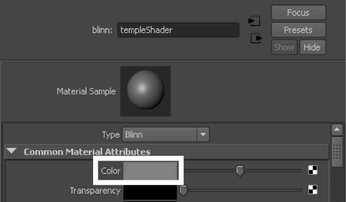
The mini Color Chooser appears.
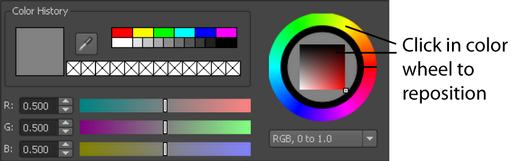
The exact color is unimportant for this lesson. However, if you’d like more options for choosing your color, you can double-click the the gray box to display the full Color Chooser.

In either case, as you adjust the color wheel indicator, the temple objects become the same color you select in the Color Chooser.
You will learn more about Maya’s shading and texturing capabilities in future lessons.

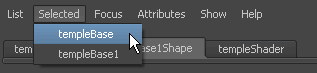
The attributes for templeBase display in the Attribute Editor.
If you can’t see this tab, click the display arrow to the right of the tabs.
These are the same attributes you edited when you assigned the templeShader shader to all the objects in the scene. When you first create an object, you see two default nodes for shading, initialShadingGroup and lambert1. When you assign a shading material, the two default nodes are replaced by the attribute node for the assigned shading material.
You will encounter transform, shape, input, and shading nodes throughout your work with Maya. There are other types of nodes that you’ll learn about as you continue learning about Maya.