mia_portal_light
The mia_portal_light shader should be applied both as light- and photon
emitter shader on a rectangular area light. The mental ray
light instance must be set to be visible (this is a
technical requirement for the portal light to be able to "block"
final gather rays. If the light actually is visible or
not in the rendering is instead handled by the shader).
Furthermore, the mental ray light instance must be set up such
that the rectangular area light is extended in the X/Y plane
of the lights own coordinate space, and any transformation of
the light must be handled with the light instance's
transform5.
The following parameters exist:
declare shader "mia_portal_light" (
        boolean "on"                     default on,
        scalar  "multiplier"             default 1.0,
        color   "tint_color"             default 1 1 1,
        boolean "reverse"                default off,
        scalar  "cutoff_threshold"       default 0.005,
        boolean "shadows"                default true,
        boolean "use_custom_environment" default off,
        shader  "custom_environment",
        boolean "visible"                default off,
        boolean "lookup_using_fg_rays"   default on,
        scalar  "shadow_ray_extension"   default 0.0,
        boolean "emit_direct_photons"    default off,
        color   "transparency"           default 1 1 1
    )
    version 9
    apply light, emitter
end declare
on enables or disables the light.
multiplier sets the intensity and tint_color modifies the light
color. When it is white, and the multiplier is 1.0, the light emitted
is equal in intensity (and color) to the environment light that FG would have
seen if allowed to send many thousands of FG rays6.
The light normally shines in the positive Z direction of the light
instance's coordinate space. If reverse is on, it shines
in the negative Z direction.
cutoff_threshold is a performance optimization option. Any light
below this level is ignored, and no shadow rays are traced (which is what
consumes the bulk of the render time of an area light). Of course, this
makes the scene slightly darker since light is ignored, but can save a lot
of excess render time.
shadows can turn shadows on and off.
If use_custom_environment is off, the shader looks in
the global camera environment for the color of the light.
If it is on, it calls the shader passed as
custom_environment to find the color.
Tip: While the shader is intended to be a portal to an environment, one
can also treat it as a "light card" shader by putting a shader returning
a solid color as the custom_environment, for example
using mib_blackbody creates a light card with a given color
temperature.
If use_custom_environment is on but no custom_environment
is actually passed, the shader behaves as a white light card.
visible defines if the light emitting surface is visible or not.
When off, eye rays, reflection rays etc. go straight through so
the portal light itself remains unseen (and we still "see" out the
window). When on, the actual light emitting surface becomes
visible to eye rays, reflection rays etc (and one do not "see" out
the window any more, although one still "see" the environment shaders
result). The on mode is useful when using mia_portal_light as a light
card shader.
When lookup_using_fg_rays is off, the environment
shader is looked up with a normal call to mi_trace_environment().
However, some shaders behave differently if they are called by an FG ray
or by another ray (the mia_physicalsky shader, for example, does not show the
"image" of the visible sun to FG rays). Since the idea of mia_portal_light is
to act as an "FG concentrator" it should therefore follow that
behavior. So when lookup_using_fg_rays is on, it
calls the environment with the ray type set to miRAY_FINALGATHER,
so that shaders that switch behavior based on this can return the
color appropriate for a FG ray.
If shadow_ray_extension is zero, the shader begins tracing
shadow rays "at" the light. When positive, the shadow rays actually
start that distance "outdoors". So if there is a large object just
outside the window, it's shadow will be taken into account.
Conversely, a negative value allows the shadow rays to begin that
distance inside the window, which can allow them to "skip"
over troublesome geometry near the window (flowers, curtains) that
would otherwise just introduce noise into the shadows.
If emit_direct_photons is on, the light only shoots
direct photons, and does not actually emit any direct light
at all.
The transparency parameters has two functions.
- When visible is on, it is a multiplier
to the "visible color" of the area light. When this is
white, the directly "visible" color is the one
dictated by the laws of physics for a surface that emits
that amount of light.
Changing the parameter away from white allows one
to artificially change the balance between the visible
result (which is changed by changing this parameter) and
the intensity of the emitted light (which is not
affected by this parameter). This can be useful to avoid
noise
- If visible is off it defines the
transparency of the area light.
This allows the mia_portal_light shader to double as a "gel" on the
window, to subdue the intensity of what is seen outdoors, which
otherwise tends to appear overexposed and blown out. The actual
emitted light intensity is not affected by this, nor does this
affect the intensity of other light rays travelling through the
window, it only affects what is visible to the eye, in refractions
or reflections.
Examples
In this section we will examine the benefits of using the portal lights
compared to what has been possible in previous versions of mental ray.
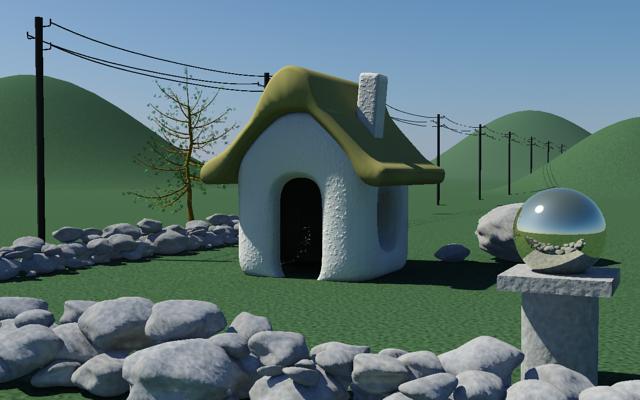
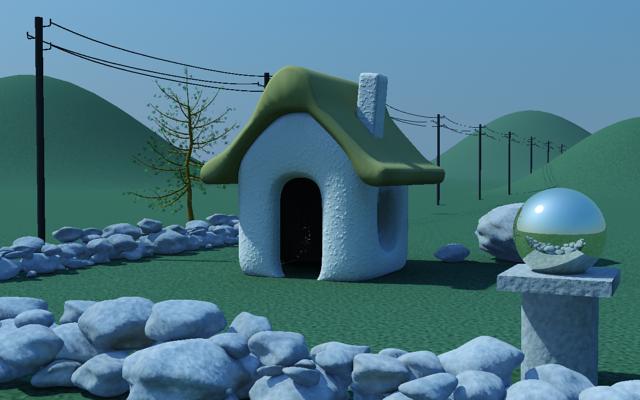
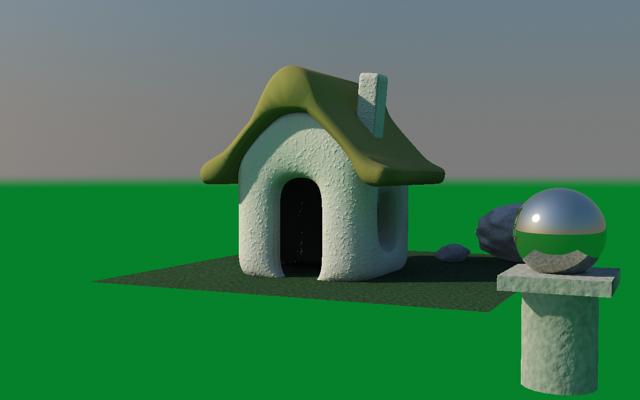
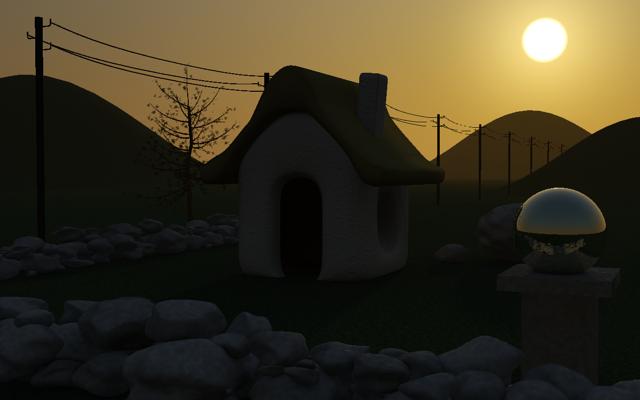
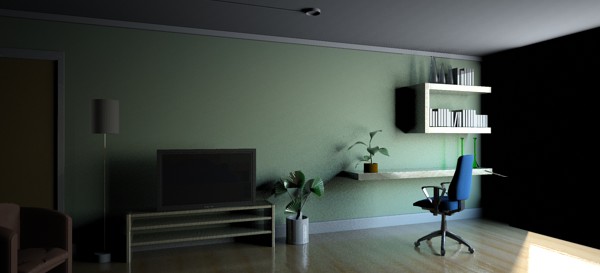
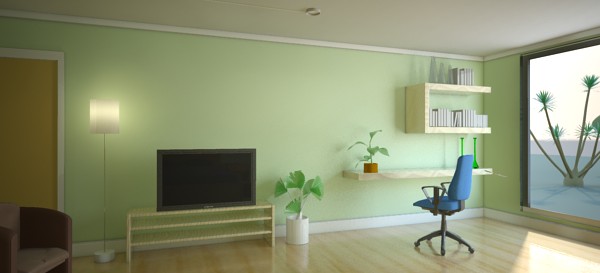
We are using the following scene7:
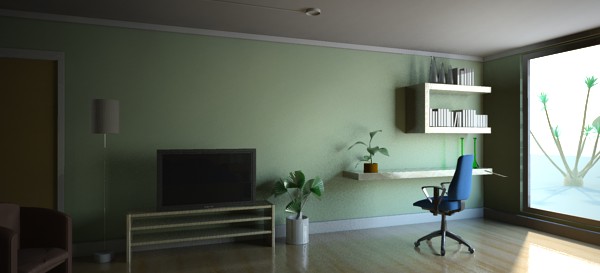
Our scene, using the portal lights, GI and FG.
The scene is only lit by the sun and sky, there are no light sources inside the
room of any kind.
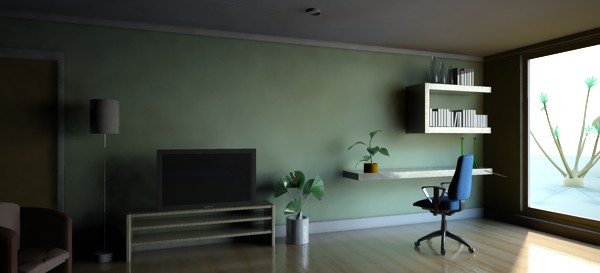
Without Portal Lights
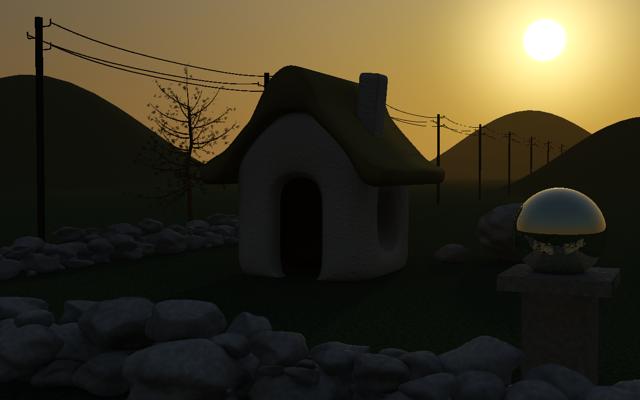
To clearly demonstrate what is direct and indirect light in the scene,
we here show the scene with portals, GI and FG turned off:
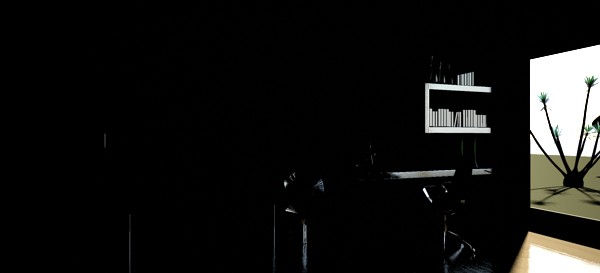
The direct lighting of our scene
The above image shows the isolated direct light. This means that this
result is what FG will "see" - an extremely high-contrast scene consisting
of complete blackness, the hotspot of the direct sunlight on the floor, and
the very bright sky, and sun-lit ground outside - a sub-optimal input
to the FG algorithm.
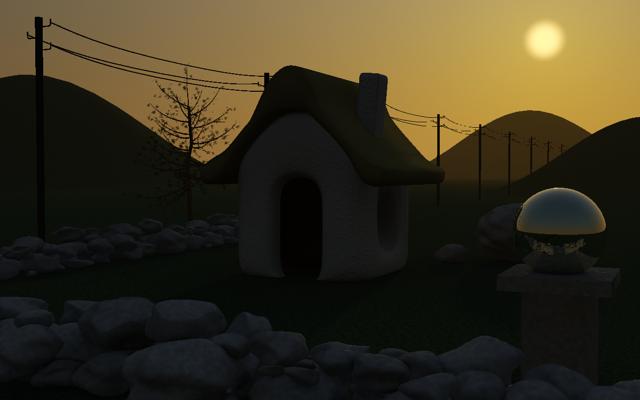
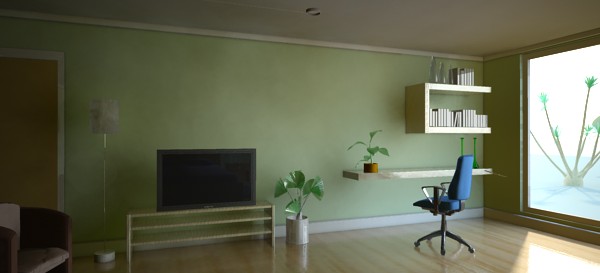
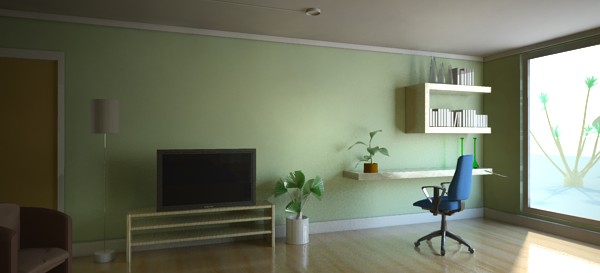
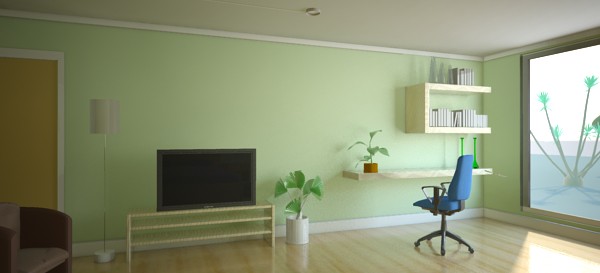
If we turn on FG on relatively low settings we get:
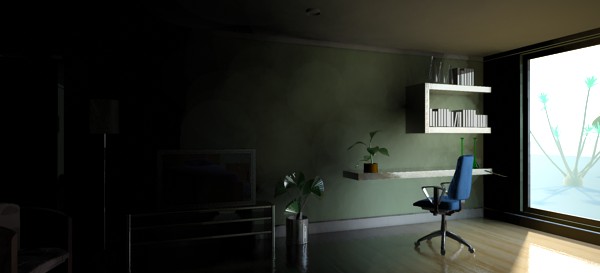
FG with 50 rays and density 0.1
This image wins no beauty awards. It is splotchy, the shelves seem to
"float" away from the wall, but most surprisingly, it's very dark.
Why is that?
The reason is the high contrast input. FG contains a filter that is intended
to avoid a speckled result if some stray FG rays hit a single extremely bright
object, so the filter removes the brightest rays. But our scene really
is high contrast, and we actually expect some rays to be much
brighter than others.
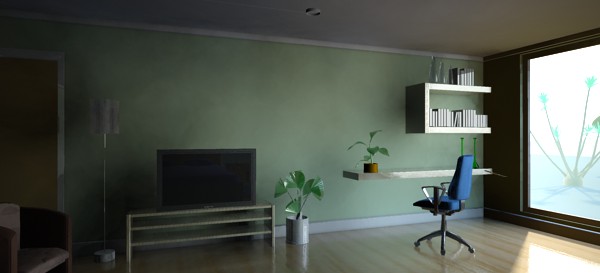
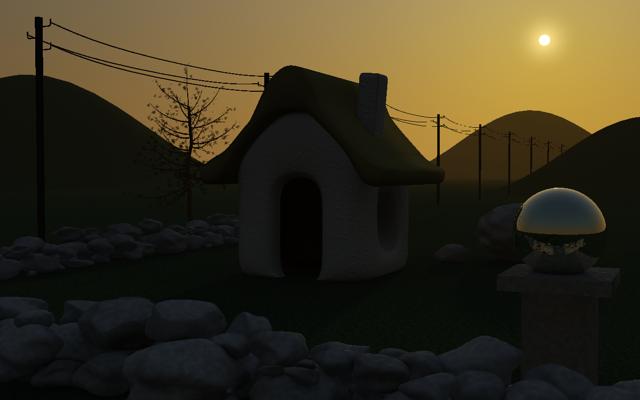
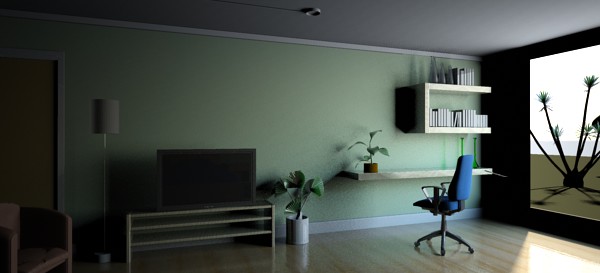
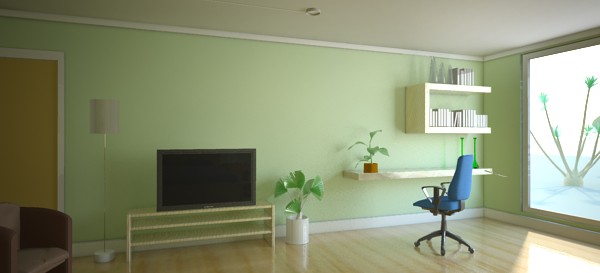
Using FG filter = 0
In our case the filter actually is fighting what we are trying to do. We can
turn off the filter, as in the image above, which helps our light distribution
some, but not the splotches, nor the "disconnect" of the shelves to the wall.
Since we are using mia_material, we have a built in ambient occlusion to help
in exactly these situations. However, turning that up only helps partially:
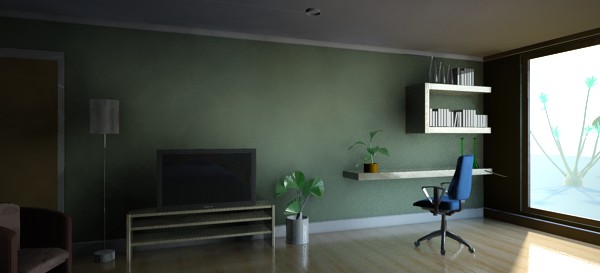
Adding AO - helps a bit
The lone solution available in the past was to simply increase the quality
of the FG settings. And naturally, we are using very low settings,
so the bad quality is not surprising at this stage. Lets turn up the knobs: