


A Sky Portal is a light object that gathers the sky light (as opposed to direct sunlight) generated by the Daylight system, then directs the light flow to the interior of certain scene objects.
 open army_compound_lighting_daylight.max.
 Create panel, click
  (Lights).
Photometric should be chosen on the drop-down list.
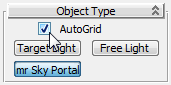
On the Object Type rollout, click “mr Sky Portal,” then turn on AutoGrid.
Sky Portal object in front of the barracks door
 zoom into the scene until you can clearly see the barracks entrance where you created the Sky Portal object.
 Reposition the Sky Portal so it lies just inside the barracks entrance.
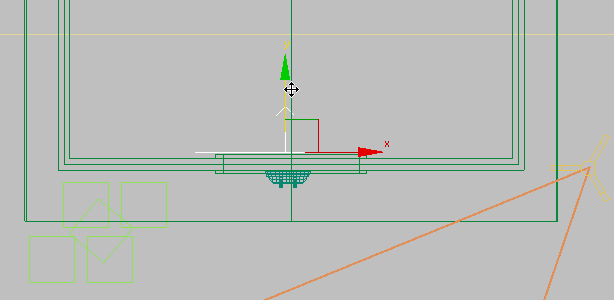
If the Sky Portal is placed outside the entrance, the sides of the door frame attract unneeded illumination.
 Modify panel. On the “mr Skylight Portal Parameters” rollout, make sure the Sky Portal is On, then change the value of Multiplier
to 8.0.
Modify panel. On the “mr Skylight Portal Parameters” rollout, make sure the Sky Portal is On, then change the value of Multiplier
to 8.0.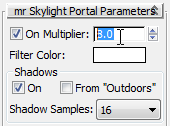
Typically you would specify a lower Multiplier value if Sky Portal objects were added to the other doors and windows of the barracks.
 Zoom out and
  pan in the Top viewport so you can see the front of all three barracks.
Shift+copy the Sky Portal to the left to create two more instances of the Sky Portal object, one for each entrance to the two remaining
barracks.
pan in the Top viewport so you can see the front of all three barracks.
Shift+copy the Sky Portal to the left to create two more instances of the Sky Portal object, one for each entrance to the two remaining
barracks.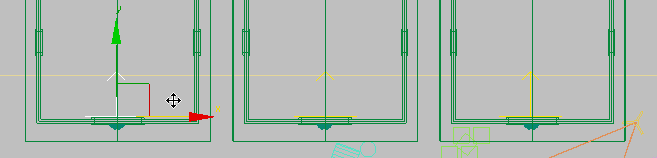
 render the scene.
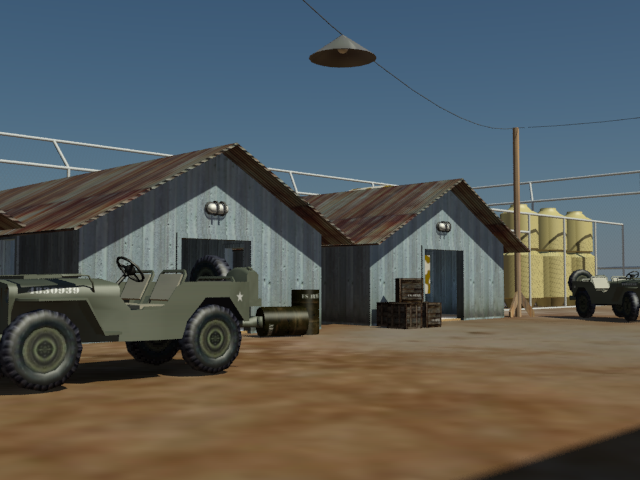
Rendered scene with light channeled into the barracks interior
The result is much improved. The Sky Portal is now channeling sky light into the barracks.
Set the illumination for mid and late afternoon:
 Select the Daylight system (click the sun object, not the compass rose), then go to the
  Motion panel.
  Time group Hour spinner box, set the time to 14 (2 PM).
render the scene.
Time group Hour spinner box, set the time to 14 (2 PM).
render the scene.
Rendered scene with Daylight object positioned at 2 PM
The shadow of the suspended light next to the jeep ® indicates that the sun is almost directly overhead. However, for this time of day the Sky Portals are transferring too much light into the barracks.
 Make a clone of the Rendered Frame Window.
Select one of the Sky Portal objects, go to the Modify panel, and on the mr Skylight Portal Parameters rollout, change the Multiplier value to 5.0.
Make a clone of the Rendered Frame Window.
Select one of the Sky Portal objects, go to the Modify panel, and on the mr Skylight Portal Parameters rollout, change the Multiplier value to 5.0.
The Sky Portals are instances, so any change you make to one Sky Portal will be passed on to the others.
Render the Camera01 viewport again.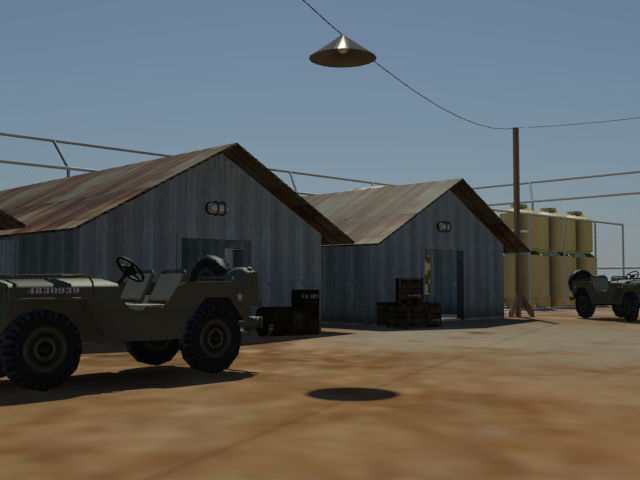
Rendered scene with Sky Portal multiplier reduced
Compare the latest rendered frame with the one you cloned earlier. The entrance illumination is subtle but more realistic.
Now you will generate a third rendered version of the scene, this one showing late-day illumination.
Select the Daylight system sun object, and in the Motion panel Time group, change the Hour to 17 (5 PM).
Render the Camera01 viewport.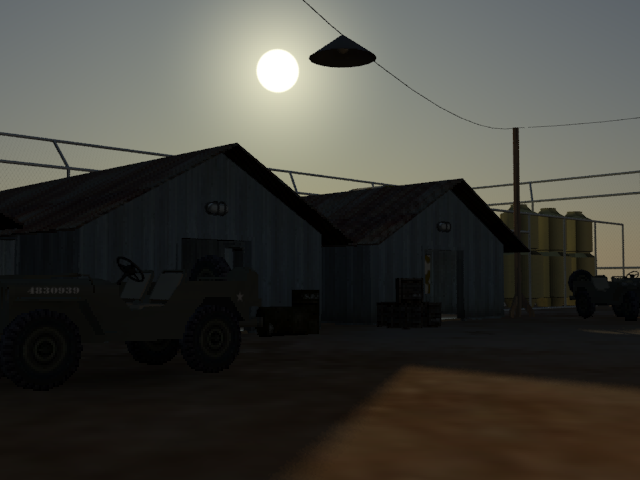
Rendered scene showing late day illumination before Exposure Control adjustment
The rendering is too dark. You will use exposure control to adjust the illumination.
Exposure group, choose Photographic Exposure, then set the value of Aperture (f-Stop) to 5.6. 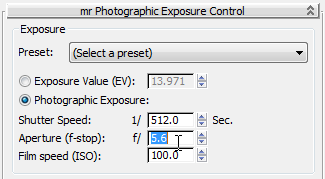 Render the Camera01 viewport again.
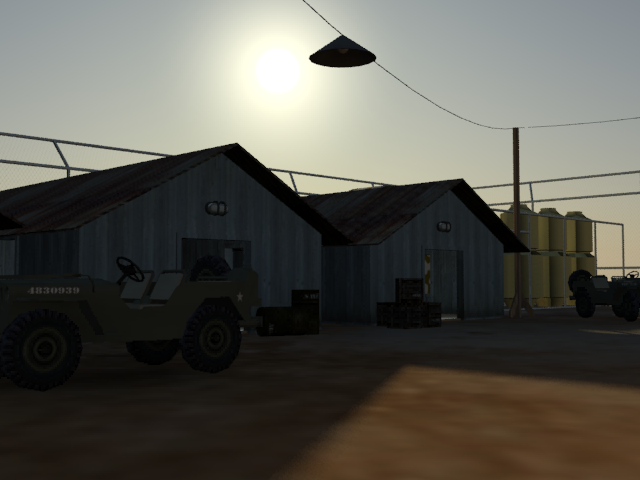
Rendered scene after exposure adjustment
The new f-stop setting compensates for the time of day.
You have created three distinct moods based on mental ray lighting techniques.
You can create a Daylight system to simulate real-world outdoor lighting conditions at any time of day, at any location on the planet. The mental ray renderer offers a range of presets that define proper exposure settings, which you can adjust manually as needed. You can add Sky Portal objects to channel daylight into structures through their doorways and windows, to improve interior illumination.