As the introduction mentions, you need to set up seams only within the named Polygon selections that have been set up already. There will be one seam at the bottom of each arm, and two for the torso legs cluster: one at the back of the jacket, and another at the inseam of the pants. The two torso legs seams meet at the crotch of the pants.
Create a seam for the left arm:
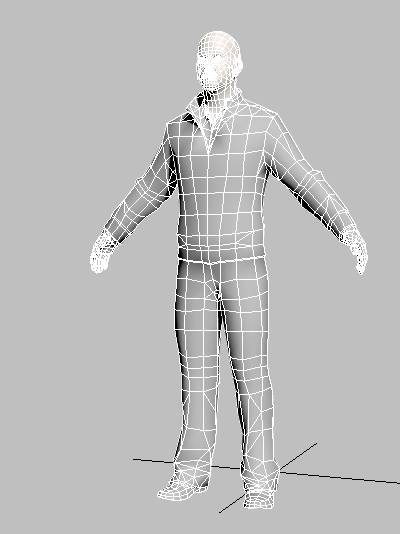
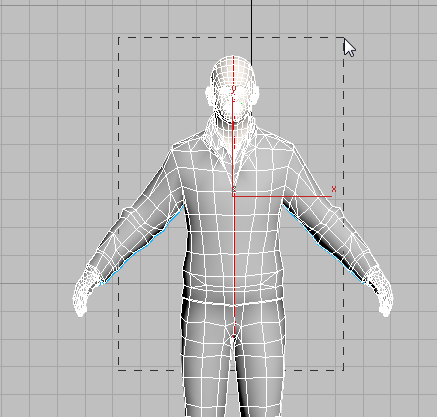
 Select the CMan model (its full name is CMan0002-M3-Body).
The model already has an Unwrap UVW modifier applied to it, but it is not fully set up, yet. It includes some Face sub-object selection sets to make your work easier.
 Modify panel and on the modifier stack, choose the Edge sub-object level.
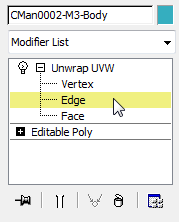
 Orbit and
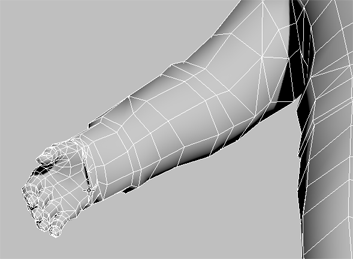
  Zoom the viewport so you can see the bottom of the left sleeve.
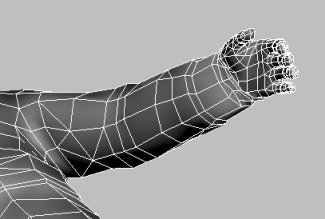
Other keyboard shortcuts for these controls are: Alt+Z to turn on Zoom, [ to zoom in, ] to zoom out, Ctrl+P to turn on Pan, and I to pan the view so it is centered on the cursor.
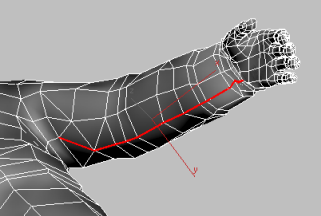
Click to select an edge along the seam at the bottom of the sleeve. This is where the seam would be in an actual jacket.
 Selection rollout Modify Selection group, click
  (Loop: XY Edges).
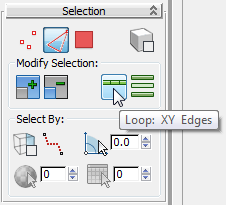
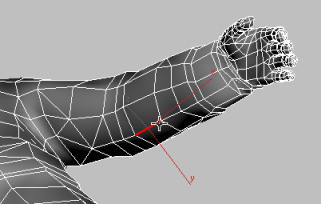
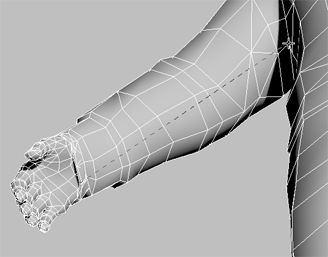
3ds Max selects the edges along the bottom of the sleeve.
 Peel rollout Seams group, click
  (Convert Edge Selection to Seams).
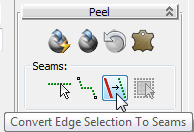
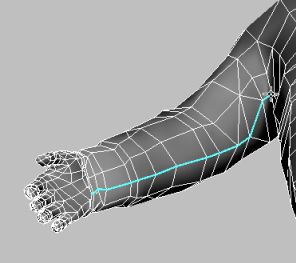
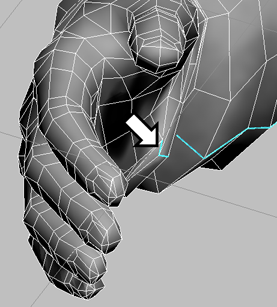
The selection turns blue to show it is now a seam.
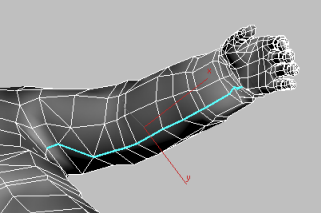
Unwrap UVW will use this seam to flatten the sleeve in a natural way, as if it were a piece of fabric.
Create a seam for the right arm:
To create a seam for the right arm, you will use an alternate method.
Orbit,  Pan, and Zoom the view so you can see the bottom of the right arm.
Peel rollout Seams group, click to turn on
Pan, and Zoom the view so you can see the bottom of the right arm.
Peel rollout Seams group, click to turn on  (Point-to-Point Seams).
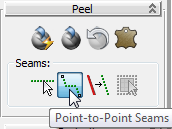
Although you are at the Edge sub-object level, the Point-to-Point Seams tool, like the Point-to-Point Edge Selection tool, highlights points so you can draw a seam or selection from one end to the other.
Point-to-Point Seams is an alternative to converting an edge selection.
There is one more edge where the cuff turns in. You have to add this to the seam to make the seam effective.
Peel rollout Seams group, click to turn on  (Edit Seams).
 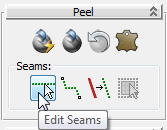 Orbit, Pan, and Zoom the view so you can see this inner edge of the cuff.
 (Edit Seams) once more to turn it off.
While Edit Seams is on, you can add an edge to the seam by clicking it (you don't have to hold down Ctrl), and remove an edge from the seam by Alt+clicking it. You can also use region selection to add or remove multiple edges.
Create a seam at the back of the jacket:
 (Maximize Viewport Toggle) to change to a four-viewport layout. Activate the Front viewport, click the Point-Of-View (POV)
viewport label menu and choose Back, then press Alt+W again.
(Maximize Viewport Toggle) to change to a four-viewport layout. Activate the Front viewport, click the Point-Of-View (POV)
viewport label menu and choose Back, then press Alt+W again. 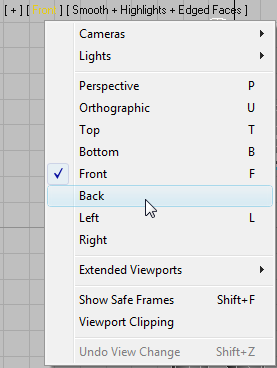
 Selection rollout Modify Selection group, click (Loop: XY Edges).
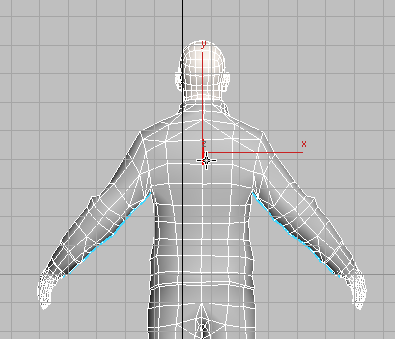
3ds Max selects a loop of edges that goes around the torso and includes the head.
Selection rollout, click to turn on  (Ignore Backfacing), if it is not already on. When it is on, the button shows a check mark.
 Orbit the view so you can see the back of the head.
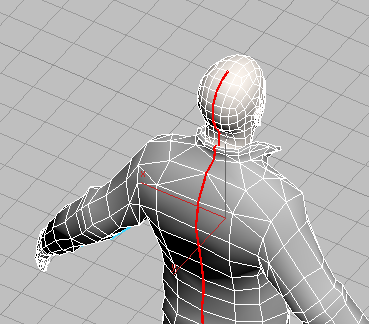
 Orbit again to get a good look at the back of the collar. Make sure that no edges on the head are selected, and that the
two edges of the jacket inside the collar, just behind the nape of the neck, are part of the selection.
Orbit again to get a good look at the back of the collar. Make sure that no edges on the head are selected, and that the
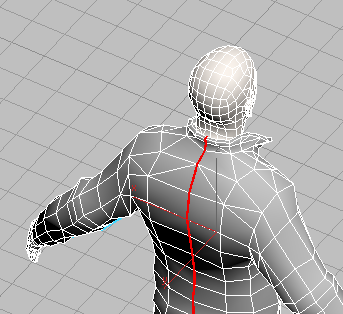
two edges of the jacket inside the collar, just behind the nape of the neck, are part of the selection. 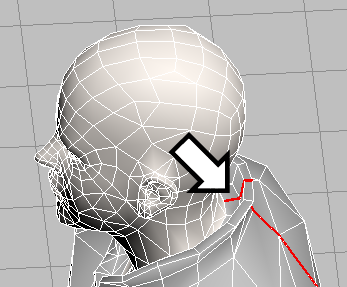 Peel rollout Seams group, click (Convert Edge Selection to Seams).
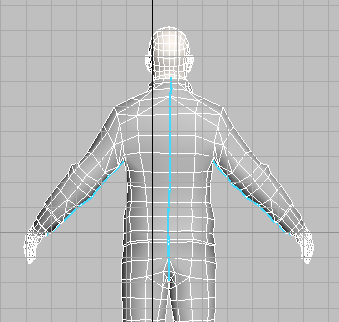
Seam at the back of the jacket.
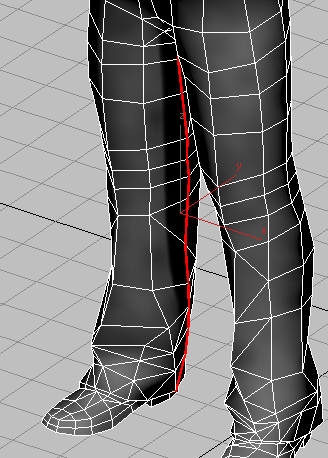
The last seam to create is the inseam of the pants. The most straightforward way to do this is just to select edges up one leg and down the other.
(Loop: XY Edges) as you did for the torso. 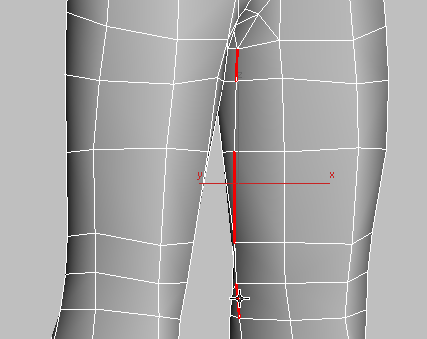
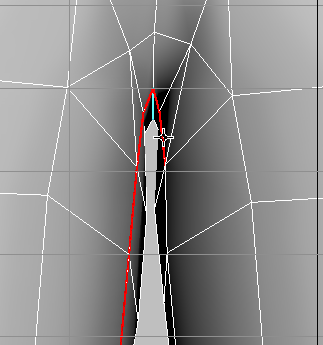
Selecting noncontiguous inseam edges before using Loop
If you try this method, don't neglect to select:
(Maximize Viewport Toggle) to change to a four-viewport layout. Activate the Perspective viewport, then press Alt+W again.
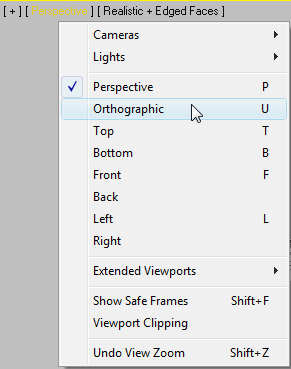
You will need to zoom, orbit, and rotate the view to follow the next few steps, and a Perspective view clips the view of the model. An Orthographic view is easier to navigate for these purposes.
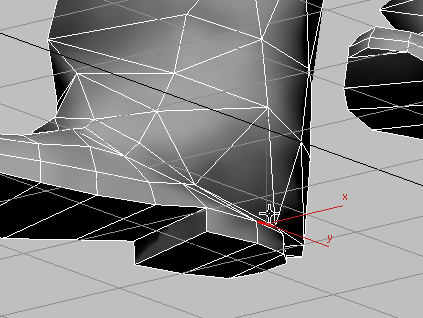
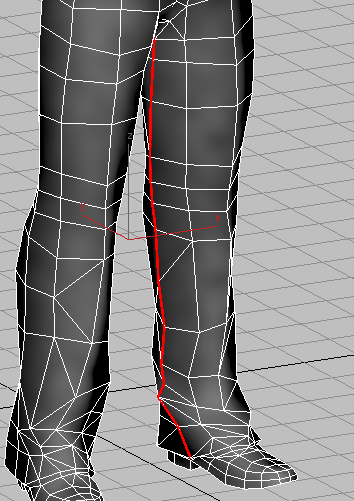
The selected edges at the inseam should meet the seam at the back of the torso
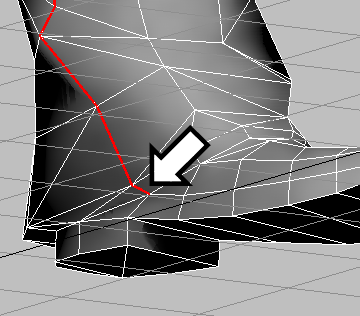
Don't neglect the short segment at the bottom of the cuff.
 Peel rollout Seams group, click (Convert Edge Selection to Seams).
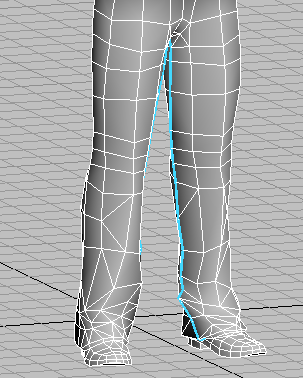
Now your model has the seams that are necessary to create peeled clusters for the clothing (aside from the shoes).


 Set Up the Seams