The project folder provides a simple way of keeping all of your files organized for a particular project.
The first time you start 3ds Max, the default project folder is your local /3dsmax folder. The path for this depends on which operating system you use:
C:/users/<username>/my documents/3dsmax/autoback/ (or "3dsmaxdesign" for 3ds Max Design)
C:/users/<username>/documents/3dsmax/autoback/ (or "3dsmaxdesign" for 3ds Max Design)
C:/documents and settings/<username>/my documents/3dsmax/autoback (or "3dsmaxdesign" for 3ds Max Design)
You can use Set Project Folder to specify a different location. You can also set the project folder from the Asset Tracking Dialog Paths menu.
When you set the project folder, 3ds Max automatically creates a series of folders within it such as scenes and renderoutput. Saving or opening files from the browser uses this location by default. Using a consistent project folder structure among team members is good practice for both organizing and sharing files.
When you set the project folder, typically 3ds Max displays a warning that some file paths are no longer valid. If the scenes you are working on belong to the project you have chosen, it is safe to disregard this warning.

 Application menu Reset before you open a new scene. Otherwise, the Open command defaults to the folder where the previous scene was saved.
After Reset, the Open command defaults to the \scenes folder of the current project.
Application menu Reset before you open a new scene. Otherwise, the Open command defaults to the folder where the previous scene was saved.
After Reset, the Open command defaults to the \scenes folder of the current project.
 Click Project Folder on the Quick Access toolbar.

 Application menu Manage Set Project Folder.
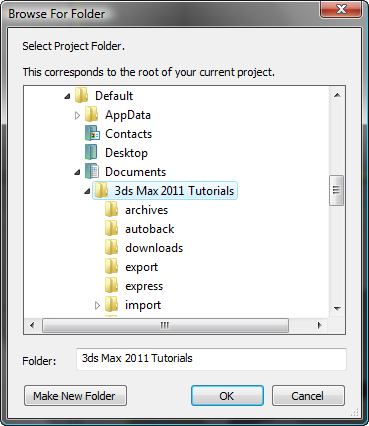
Use the browser controls to navigate the disk structure to the project folder to use, highlight the folder name, and then click OK.


