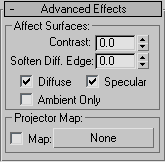
The Advanced Effects rollout provides controls that affect how lights affect surfaces, and also includes a number of fine adjustments and setting for projector lights.
You can make a light object into a projector by choosing a map for the light to project. A projected map can be a still image or an animation.
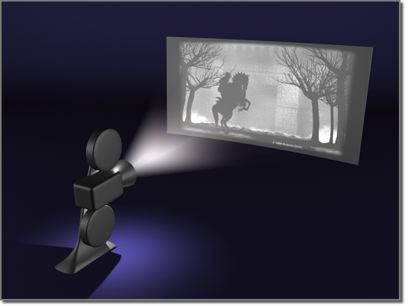
Casting a projection with a light
 Material Editor.
The Material Editor is where you adjust the map's parameters.
You can also drag from any other used map button, as in the Environment dialog.
Assigning the map displays the map name in the button, and turns on the Projector toggle. After you have set up the map, you can turn off Projector to test rendering the scene without the projected image.
An alternative is to click the Map button. This displays the Material/Map Browser, which lets you choose the map type. At this point, the light behaves as a projector. To assign a map or adjust its parameters, you need to use the Material Editor.
To put the map in the Material Editor:
You can animate Blur Offset to have a projected map go in or out of focus.
When on, the light affects the specular properties of an object's surface. When off, the light has no effect on the specular properties. Default=on.
For example, by using the Diffuse and Specular check boxes you can have one light color the specular highlights of an object, while not coloring its diffuse area, and then have a second light color the diffuse portion of the surface while not creating specular highlights.
When on, the light affects only the ambient component of the illumination. This gives you more detailed control over the ambient illumination in your scene. When Ambient Only is on, Contrast, Soften Diffuse Edge, Diffuse, and Specular are unavailable. Default=off.
The effect of Ambient Only isn't visible in viewports. It appears only when you render the scene.
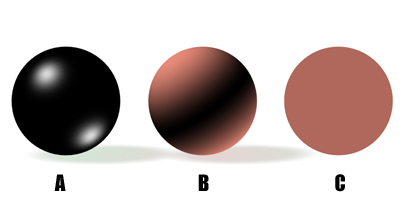
A: Affect specular only
B: Affect diffuse only
C: Affect ambient only
These controls make the photometric light a projector.
Names the map used for the projection. You can drag from any map specified in the Material Editor, or any other map button (as on the Environment panel), and drop that map on the light's Map button. Clicking Map displays the Material/Map Browser. You can choose the map type using the Browser, then drag the button to the Material Editor, and use the Material Editor to select and adjust the map.


 Create panel
 (Lights)