There are many ways in which you can control the display of chain elements. You can hide them, like any other object in Softimage or choose to display just certain parts of a chain.
Displaying or Hiding Chain Elements
There are a few ways of displaying chains in viewports.
Click the eye icon  in a viewport's title bar and choose Chains (this is on by default) to see chains in that viewport.
Choose Display  Chains from the main menu bar to toggle chain visibility in all viewports.
Click the eye icon and choose Visibility Options in a viewport's menu bar (or press Shift+S) to open the Camera Visibility Property editor. On the Objects page, toggle the Chain Roots, Bones, and Effectors options (these are on by default).
Displaying Bones Using the Viewport's Display Mode
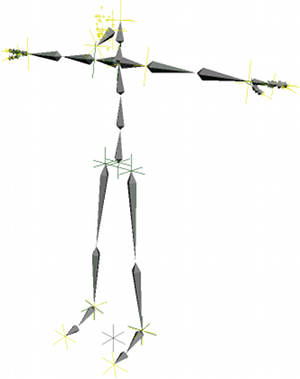
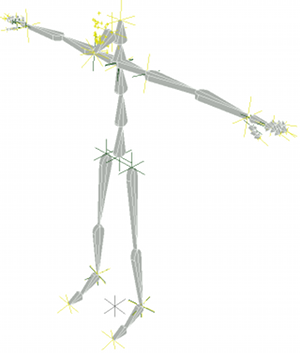
You can display chain bones and their shadow bones using the current display mode that is set in the viewport. This allows you to display the bones and their shadows in Shaded, Constant, DepthCue, or Hidden Line mode, as well as Wireframe. This is a visual reference only — the bones are not rendered.
Select one or more chain bones and press Enter to open the Chain Bone property editor. You can change all selected chain bones at once this way in a multi-element property editor.
Select the Use Display Mode option in the Bone Display and/or the Shadow Display groups in the property editor.
For information on shadow bones, see Creating Shadows for Chain Elements.
If you have the XRay Mode active, the shaded bones are displayed if you select Transparent as the XRay Display Type — see the Display Options tab in the Camera Display Property Editor.
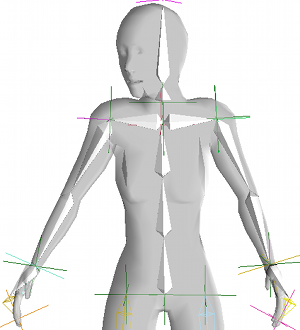
By default, the joints between the bones are not displayed as circles because they can clutter the limited space on a chain. However, if you need to display them, do any of the following.
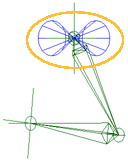
Displaying Critical Zones for IK Chains
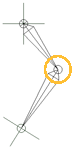
Around the root is an area called the critical zone, represented by a double-cone shaped icon. If the effector is translated into the critical zone, the general orientation of the chain will flip.
Click the eye icon in a viewport's title bar and choose Visibility Options in a viewport's menu bar (or press Shift+S) to open the Camera Visibility Property editor.
The critical zone is blue when the default preferred axis of rotation is used or when a preferred axis constraint is applied to the chain. The critical zone is green when an up-vector constraint is applied to the chain.