There are many ways to control the view in the animation mixer.
Changing Frame Ranges in the Mixer
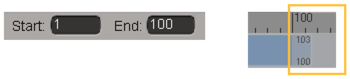
Use the Start and End boxes on either end of the mixer's timeline to set the maximum viewable frame range. These values control the display only in the mixer — they do not affect the start and end frames in the scene's main timeline.
Frames displayed in the animation mixer that are outside the scene's frame range (either before the first frame or after the last frame) are ghosted.
Matching the Mixer to the Scene's Timeline
You can make the mixer's timeline match the scene's timeline by doing any of the following:
If you have a compound clip selected when you choose View  Frame Parent or press P, the mixer frames to the compound's "parent," which is the timespan of all the contributing clips in the compound.
You can zoom in the animation mixer as you can in the dopesheet using the Z, X, and S keys.
By default, you can zoom using the mouse wheel. Scroll forward to zoom in and backward to zoom out. Press Ctrl to zoom quickly, Shift to zoom more slowly, and Ctrl+Shift to zoom even more slowly.
If desired, you can disable the mouse wheel zoom or restrict it to the Navigation tool so that you can use the mouse wheel with other tools. See Mouse Wheel in Camera Preferences.
You can frame specific or all clips in the animation mixer.
Select one or more clips, then choose View Frame Selection from the mixer's command bar or press F. If you select a track first, this command frames all clips on that track.
To frame all clips on all tracks, choose View Frame All or press A.
Place the mouse pointer in the overview area and press A to reset the mixer's start/end frames to the start/end the scene's frames.
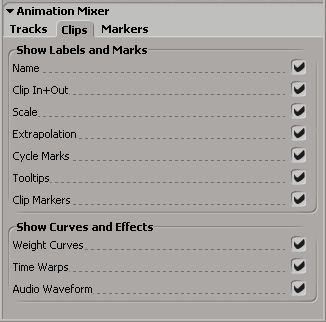
You can toggle the display of many mixer elements (tracks, clips, markers, etc.) in different ways by doing any of the following:
To set the most common view options, select the appropriate items on the mixer's View menu.
To set view options that are specific to tracks or clips, right-click a track or clip and choose Display Options.
Then select the different viewing options in the Tracks Display Options or Clips Display Options dialog box that appears.
To set preferences for all view options, choose View Preferences and select the appropriate options in the Animation Mixer Preferences dialog box.