When you move fcurves or keys in X, you change the keys' time; when you move fcurves or keys in Y, you change the keys' values.
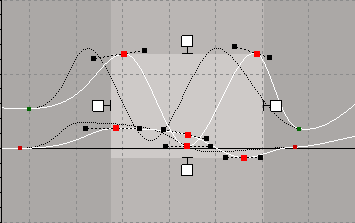
You can move fcurves, keys, and regions either interactively or with numerical precision. You can also select a specific region of an fcurve in the graph and move, stretch, and compress the curve's keys within that region as a single unit.
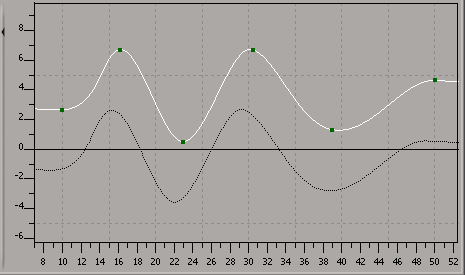
When you move keys that use the Automatic Slope orientation constraint (see Setting the Slope's Orientation (Angle)), the ratio of the slope handle to its neighboring keys is preserved: as you move a handle towards or away from its neighboring keys, the handle gradually shortens or lengthens. This keeps the fcurve shape roughly the same and avoids dips or peaks that can occur when a handle gets too close to a neighboring key.
Moving Fcurves or Keys with the Select Tool
Choose Edit  Select Tool, press the Y key, or click the Select icon in the toolbar.
Depending on the preferences you set in Animation Editor Preferences, you can use the left and/or middle mouse button to move whatever is selected (in both X and Y), with keys having the priority. For example, if only fcurves are selected, it moves those fcurves; if both fcurves and keys are selected, it moves only the keys.
With the Translate on MMB option selected, you can use the middle mouse button (MMB) to move fcurves or keys. To constrain movement horizontally or vertically, hold down the Shift key as you drag (the movement is restrained in the first direction that you drag after pressing Shift).
This option doesn't use the position where you click, so you don't need to actually click on the selection to move it. This makes it impossible for you to lose your selection by mistake in case you didn't click precisely.
With the Prevent Movement on LMB selected, you cannot move keys with the left mouse button (LMB). This leaves the left mouse button free for rectangle selection, which makes it easier to select fcurves or keys without accidentally clicking on a slope handle.
If this is off, you can move keys with the left mouse button.
Moving Selected Fcurves or Keys with the Translation Tool
Choose Edit Translation Tool or press the V key, then drag the selected fcurves or keys to a new location.
This tool moves whatever is selected, with keys having the priority. For example, if only fcurves are selected, it moves those fcurves; if both fcurves and keys are selected, it moves only the keys.
To move only fcurves, choose Edit Select and Move Curve Tool or press the N key, then click+drag the curve to a new location.
When you move a key, you can change either the frame or the value of that key. Moving keys horizontally changes the frame, while moving vertically changes the value.
Because moving points interactively can be imprecise, you might want to have your keys snap to specific frames, time, or value intervals.
Moving Individual Keys without Changing the Key Selection
Using the Move Key tool, you can move individual keys in a selection of keys without affecting the current key selection. This makes it easy to randomly move keys. This is similar to moving points on a geometric object in a view. You can move keys only on selected fcurves.
Choose Edit Move Key Tool or press the M key.
You can also keep the M key pressed down as you move the key, then release it when you're done. This is a supra mode that allows you to return to your previous tool after you release the M key.
Click a key point and drag it to a new location. The point turns green and has a yellow box around it as you're dragging.
Only the point under the mouse pointer is affected, even if other keys are selected.

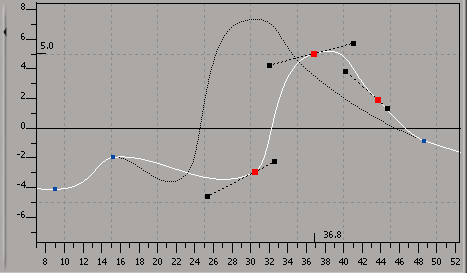
Select the region of the fcurves you wish to modify using the Region tool (click the Region icon in the toolbar or press the Q key).

To change the frame position or values of the fcurve region, click anywhere within the highlighted region and drag the region:
Dragging the region horizontally adjusts the frame position of the region (the animation occurs earlier or later in the timeline). You can also right-click+drag to move the region only horizontally.
Dragging the region vertically changes the values of the entire region. All neighboring keys remain in their original positions. You can also middle-click+drag to move the region only vertically.
Moving Fcurves, Keys, and Regions Precisely
There are several ways to accurately move fcurves, keys, and regions to a specific location:
Moving Fcurves, Keys, and Regions with the Translate Boxes
Select the keys or region you want to offset. To offset the entire fcurve, select the curve and leave the keys unselected.
Enter the amount of the offset in the Tx or Ty text box as the absolute (positive) value. You can also use an + (addition) or - (subtraction) sign, either before or after the value you enter.
For example, to advance some keys by 4 frames, select the keys and enter 4 or 4+ or +4 in the Tx text box.
Or to decrease the keys' value by 4 points, you could enter 4- or -4 in the Ty text box.
You can also use functions such as linear (l) and random (r) in the Tx and Ty boxes. However, this gets one value and applies it to all the selected keys.
For more information, see Relative Input Using Math Operations.
Moving Fcurves, Keys, and Regions with the Frame and Value Boxes
The Frame and Value boxes in the fcurve editor's toolbar show the frame and value of the currently selected key. However, you can also use them to move selected fcurves, keys or regions.

Enter the amount of offset in the Frame or Value box, followed by an + (addition) or - (subtraction) sign.
For example, to advance several keys by 2 frames, select the keys and enter 2+ in the Frame box. Or to decrease the value by 3 points, select the keys and enter 3- in the Value box.

In the Value box, you can also use a multiplication (*) or a division sign (/) followed by the value by which you want to multiply or divide (such as 3* to triple the value).
For example, if a key's current Value is 12.57, you could enter *2 after this value in the Value text box (12.57*2) to quickly double the value.

For a single selected key, you can type in the exact frame number or value that you want for a selected key. For example, if you want the selected key to have a value of 85, simply type 85 in the Value text box. Or to move to a specific frame, such as 25, enter its value in the Frame box.
In the Frame box, you can specify the value in SMPTE time code format (HH:MM:SS:FF) or you can enter the position in terms of number of frames (for example, at 30 fps, entering a value of 45 would be the same as entering a value of 00:00:01:15).
You can also use the Frame and Value boxes for scaling — see Scaling Function Curves, Keys, and Regions.
Moving Keys with the Key Properties Editor
You can also enter the new point coordinates for a series of neighboring keys in the Key Properties editor:
Choose Keys Key Properties to open the Key Properties editor.
Enter the key coordinates in the Frame and Value text boxes (math operations are supported, as shown above).
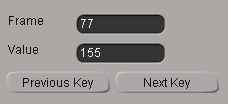
Move to the next or previous keys by clicking the Previous Key and Next Key buttons and continue entering key values until you are done.


