Sculpt a model


  1. Select the basic Sculpt tool from the Sculpt Tools tab.
  2. Click-drag the cursor across the surface of the sphere for one short stroke.

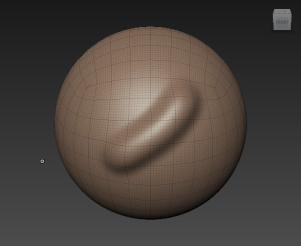
    Your sculpt stroke moves the affected vertices on the model slightly outwards on the model, creating a ridge.

    NoteYou can press Ctrl + Z to undo a sculpt stroke immediately.
  3. Press the Ctrl key and perform another sculpt stroke on the sphere.

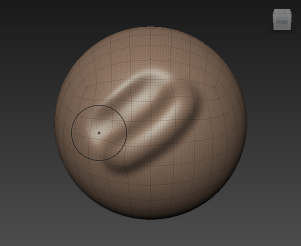
    This time the affected vertices are moved inwards in relation to the polygonal mesh, creating a trough.

  4. Experiment with the size and strength of the sculpt brush using the following keyboard shortcuts:

    Tool Property

    Keyboard shortcut:

    Action/Results

    Size B + drag A circle surrounding the cursor changes size depending on the direction you drag, indicating the region of influence of the tool.
    Strength M + drag A vertical line above the cursor changes length depending on the direction you drag, indicating the change in tool strength.
    NoteYou can also adjust the Size and Strength of a selected tool using the Properties window.

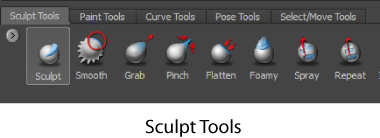
For more information, see Sculpting overview.

Previous lesson Increase the resolution of a model Next lesson Sculpt using layers and stencils

Creative Commons License Except where otherwise noted, this work is licensed under a Creative Commons Attribution-NonCommercial-ShareAlike 3.0 Unported License