You can record movies of your sculpting and painting work in Mudbox. Movies are useful for presenting your work to others or for producing instructional videos to demonstrate how a particular workflow was performed. You can:
You can record a movie of your actions on screen while working in Mudbox using Record Movie (Render > Record Movie).
The Record Movie window appears.

A preview image aids in determining how the Presets affect the movie image area.
Setting the Record at and Playback at rates to identical values such as 15 frames per second (fps) produces a movie whose timing reflects your actions on screen in real-time. Setting the Record setting to a low frame rate combined with a relatively high Playback rate produces a movie that appears more accelerated in timing much like a time-lapse video would appear. This is useful when you want to record a movie that depicts your screen action much faster than real-time. Experiment with these settings to find an ideal combination for your particular needs.
The Automatically pause recording when idle option prevents the recording of unwanted frames by pausing the recording whenever the tool cursor is inactive. Recording resumes automatically when the tool cursor is moved again. It is turned on by default.
A numerical countdown window appears in the lower right corner of the application window to indicate recording is about to begin. Once recording begins, two new buttons appear on the lower right corner of the Status Line. The name of these buttons varies depending on the recording state.
Click the Pause or Resume buttons that appear (depending on the state of the recording). For example, when the recording is automatically paused, the Resume button appears.
A Movie file was create successfully HUD message appears upon completion. Once the movie frames are saved and compiled into a movie, the movie automatically appears in a movie player window so you can play it.
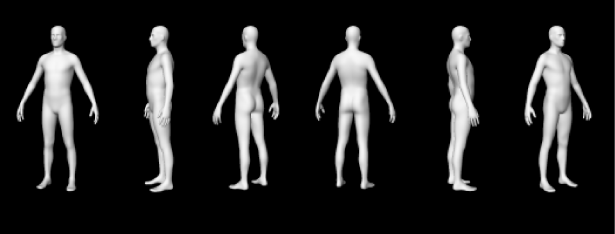
Recording a turntable movie produces an animation in which the model rotates 360 degrees over a specified time frame and is excellent for presenting a sculpture from many points of view.
Create Turntable Movie renders each movie frame. This means that high quality movies can be produced at resolutions larger than the 3D View.
The Create Turntable Movie window appears.
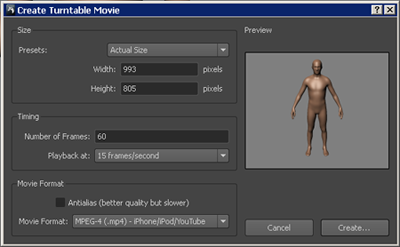
A preview image aids in determining how the Presets affect the movie image area.
The default setting of 60 frames played back at a frame rate of 15 frames per second produce a turntable movie with a duration of 4 seconds. Setting your movie player so it loops will play back the turntable as a continuous animation. You can increase or decrease the Timing values to find an ideal playback speed for your particular turntable.
A Movie file was create successfully HUD message appears upon completion. Once the movie frames are compiled into a movie, the movie automatically appears in a movie player window so you can play it.


