


In the following procedure you create a biped in 3ds Max and send it to MotionBuilder.
To create a biped in 3ds Max and send it to MotionBuilder:
 ), select Reset.
The scene and settings are cleared and the Create (  ) panel displays the Geometry (
  ) standard primitives object type options.
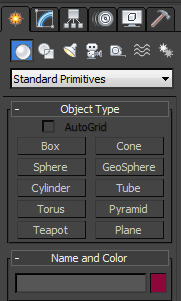
Create panel standard primitive object type
 ).
).
The Create panel displays the Systems (  ) standard object type options.
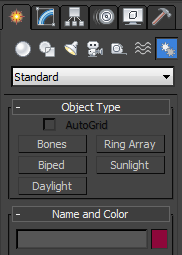
Create panel Systems standard object type
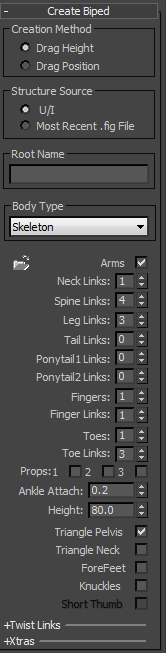
Selecting the Biped object type ( ) gives you access to the biped creation options and biped body type options.
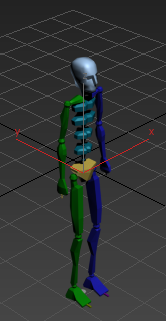
3ds Max biped object
The 3ds Max biped object has 4 neck links, 10 spine links, 5 fingers and toes, and 3 finger and toe links.
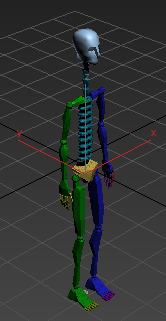
3ds Max biped object modified
), select Send to  Send to MotionBuilder Send as New Scene.
The 3ds Max scene (biped and camera) loads into MotionBuilder.
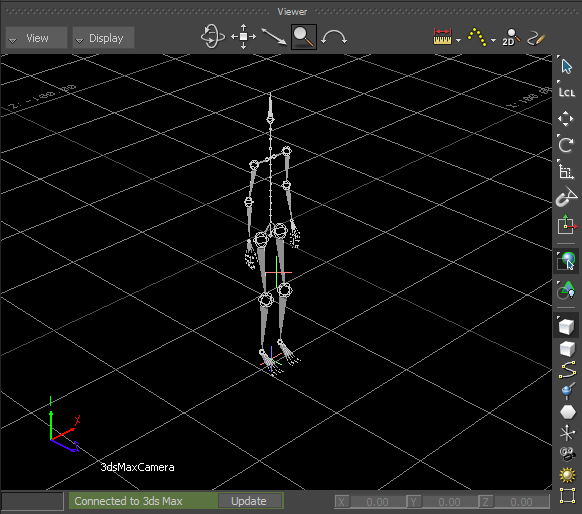
3ds Max biped displayed in the Viewer window
The established connection between 3ds Max and MotionBuilder is indicated in Viewer window status bar ( ).
).
Now that your biped is saved as an .fbx file, you can use it in the next procedure (Characterize the 3ds Max biped).
 Except where otherwise noted, this work is licensed under a Creative Commons Attribution-NonCommercial-ShareAlike 3.0 Unported License